

pip install → chat UI → production agent in under 30 minutes. No Docker required, no separate frontend, no extra services to deploy.
Prerequisites
- Python 3.12+ (python.org)
- pip (bundled with Python)
- An LLM provider key (OpenAI, Anthropic, or Google, whichever your agent calls)
Steps
1
Create a project directory and install
my-agent/ directory.2
Save agent.py
Save this as
my-agent/agent.py:agent.py
3
Save config.yaml
Save this as
my-agent/config.yaml next to agent.py:config.yaml
graph_definition: "./agent.py:graph" is resolved against the directory where you run idun init (the next step), so agent.py and config.yaml must live in the same directory you launch from. Use an absolute path if you want to invoke it from elsewhere.4
Run
Put Runs Alembic migrations, seeds the database from 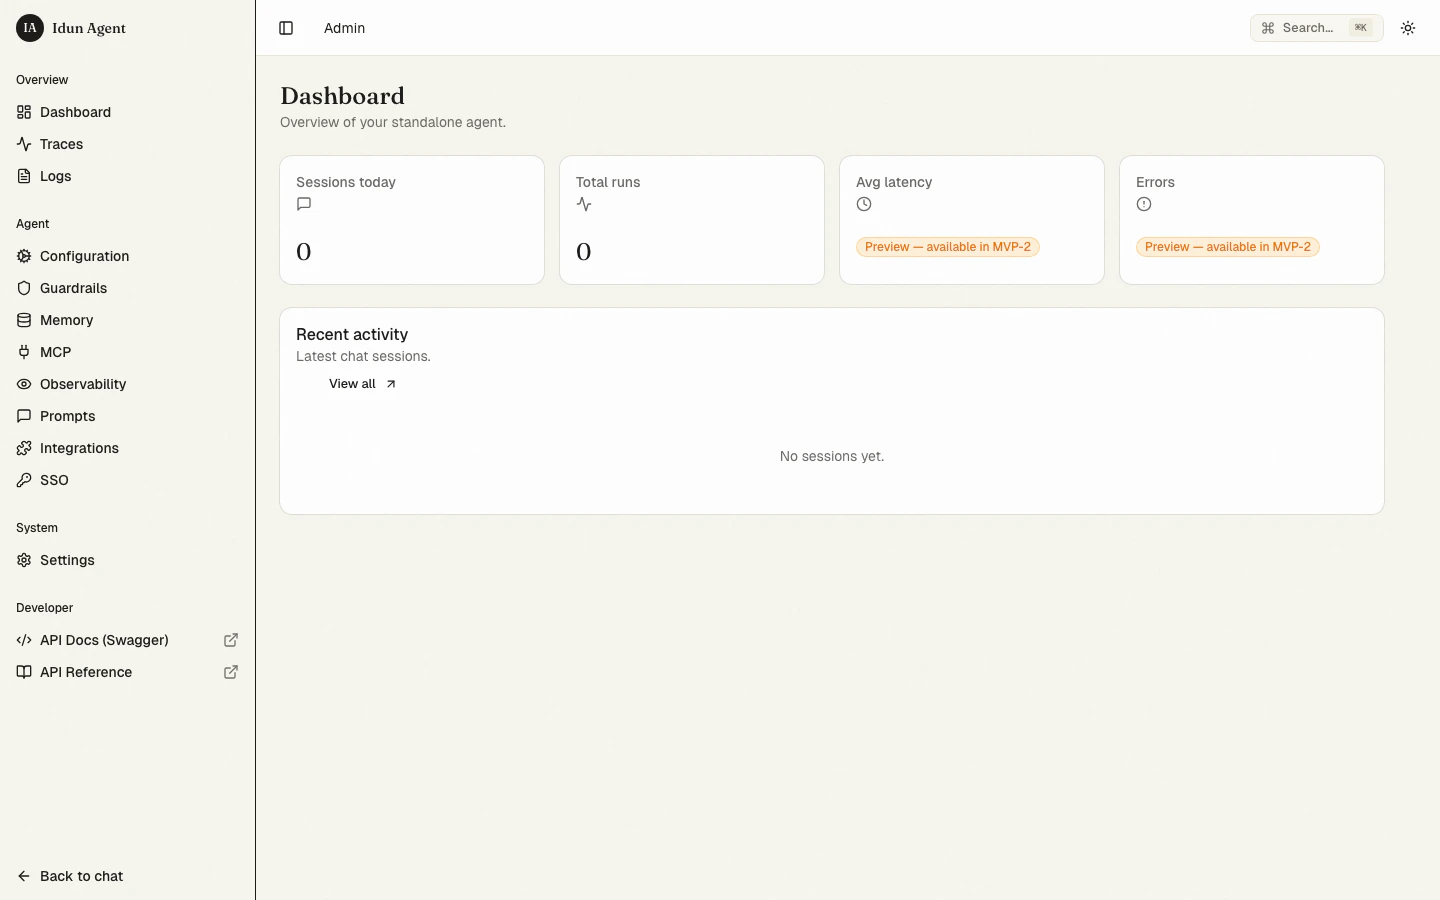
GEMINI_API_KEY=... in a my-agent/.env. Get a key at aistudio.google.com/apikey.From inside my-agent/:config.yaml, and boots the server at http://localhost:8000. Use idun init --port 8080 to bind a different port (overrides the IDUN_PORT env var; default is 8000).5
Chat
Open http://localhost:8000 in your browser. Send a message and the response streams back in real time.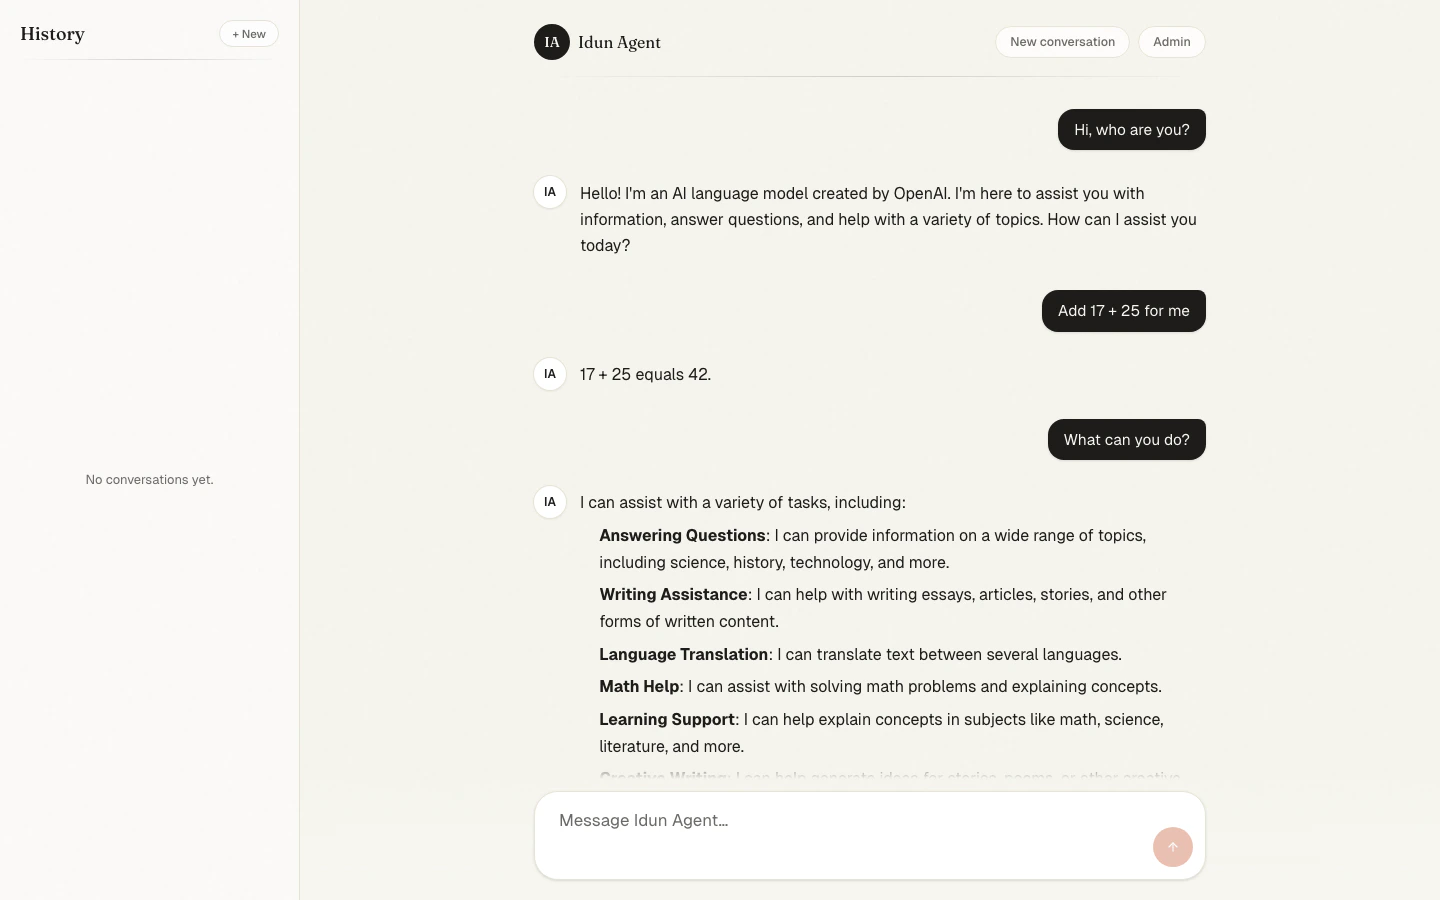
6
Explore the admin
Open http://localhost:8000/admin. Configure MCP servers, managed prompts, observability, messaging integrations, and SSO, all without redeploying.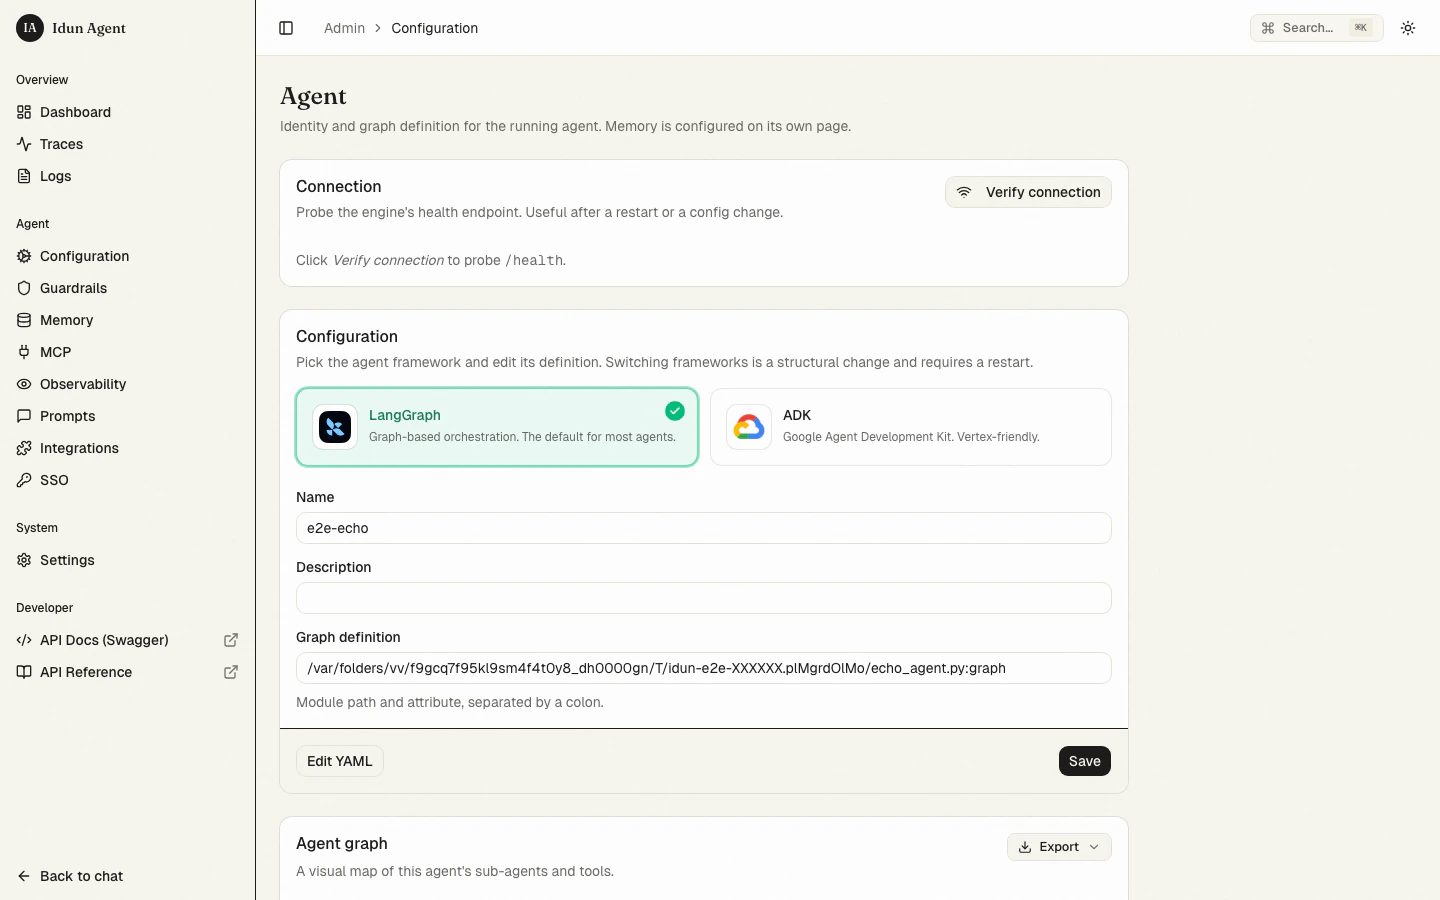
Next steps
Pick a framework
LangGraph or Google ADK
Add guardrails
15+ built-in safety guards
Wire observability
Langfuse, Phoenix, LangSmith, or GCP Trace
Connect MCP servers
stdio, SSE, streamable HTTP, or WebSocket transports
Deploy
Cloud Run, Kubernetes, or any single-container host
Switching to Postgres
The standalone runtime ships with SQLite as the default database for quickstart and demo. For production, switch to Postgres. SQLite’s trace-storage ceiling is around 10k traces before the list view starts to lag. The trace UI shows a permanent banner reminding operators of this when SQLite is the active backend. To switch:1
Provision Postgres 15+
Provision a Postgres 15 or newer database. Make sure the
pg_trgm extension is available, used for free-text trace search.2
Set DATABASE_URL
3
Run migrations
4
Restart the standalone runtime